[ad_1]
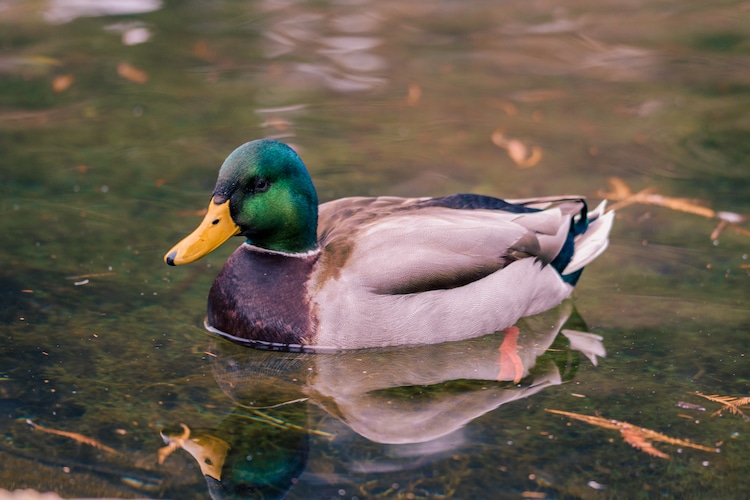
Photo: Wirestock/Depositphotos
In search of your next drawing subject? You don’t have to look very far. Sketching nature is a great way to acquaint yourself with different animals and practice rendering their anatomy. If you’re interested in creating a peaceful illustration of a pond, for instance, then the best way to add to it is by drawing a peaceful duck or two swimming across. Even if you’re not familiar with sketching birds, by following an illustrated tutorial, you will find that the task is not as hard as you think and can even be a lot of fun, too.
Here, we will learn how to draw a male duck swimming in the water in just 14 steps. All you need to follow along are some basic drawing supplies like a pencil, eraser, your pen of choice, and some paper. Ready to get started? Then, scroll down to start sketching!’
Learn How to Draw a Duck
Step 1: Sketch a circle
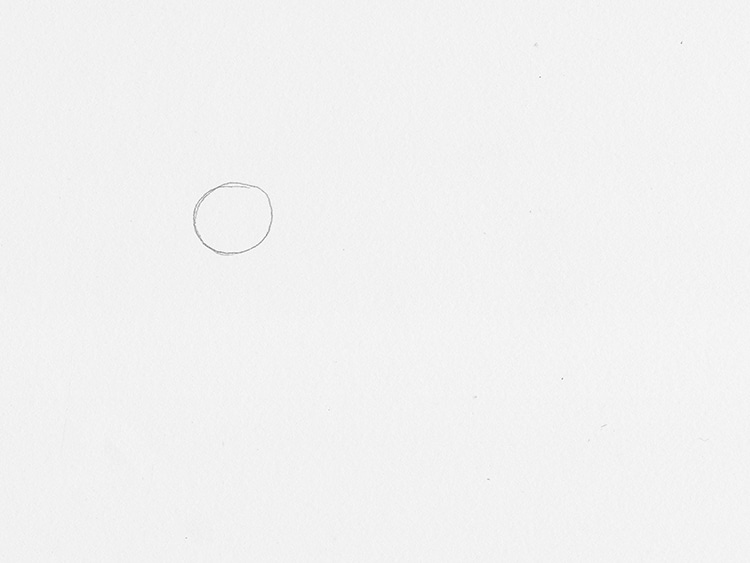

Photo & Art: Margherita Cole | My Modern Met
First, create the head of the duck by sketching a circle.
Step 2: Connect the head to the neck
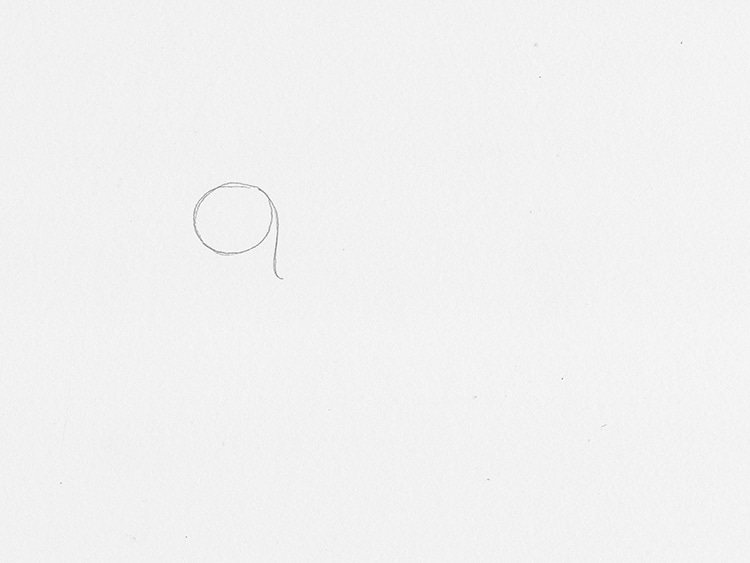

Photo & Art: Margherita Cole | My Modern Met
Next, connect the head to the neck with a line.
Step 3: Add the body
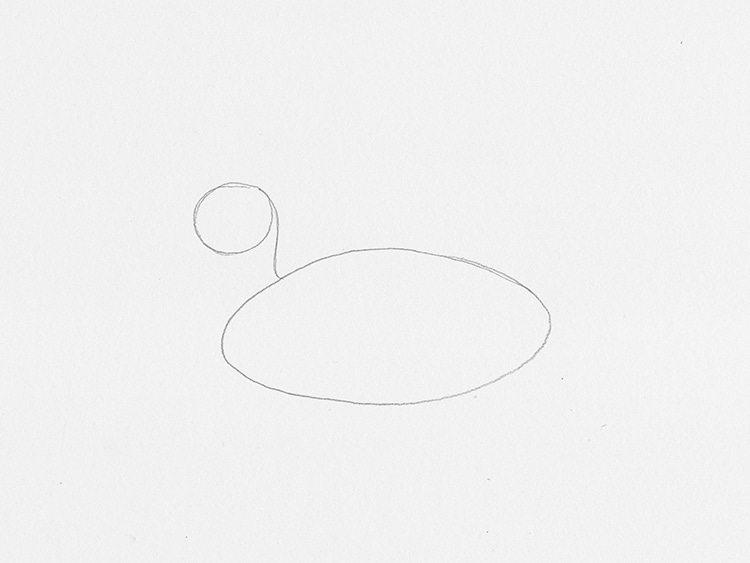

Photo & Art: Margherita Cole | My Modern Met
Afterward, you will use your pencil to sketch a large oval, creating the body of the duck. This should connect to the line we drew in Step 2.
Step 4: Create the chest
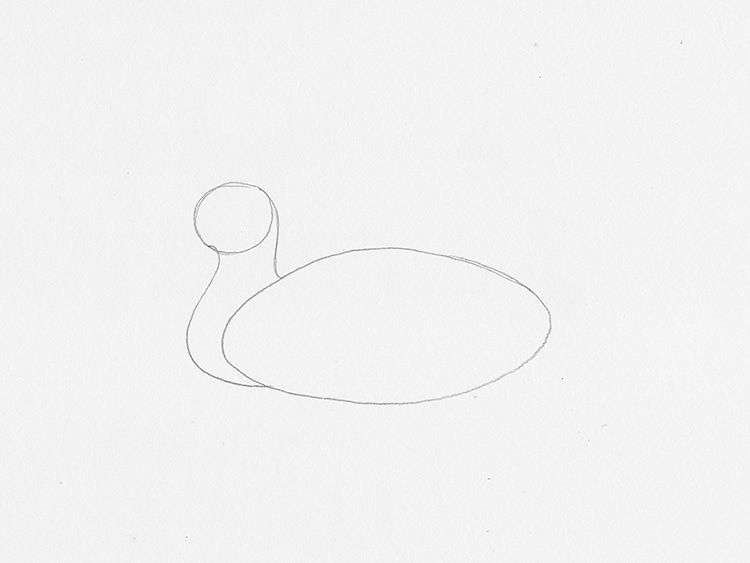

Photo & Art: Margherita Cole | My Modern Met
Add another S-shape line on the other side of the duck’s neck to form the chest in front of the body. This should protrude slightly out.
Step 5: Add the beak
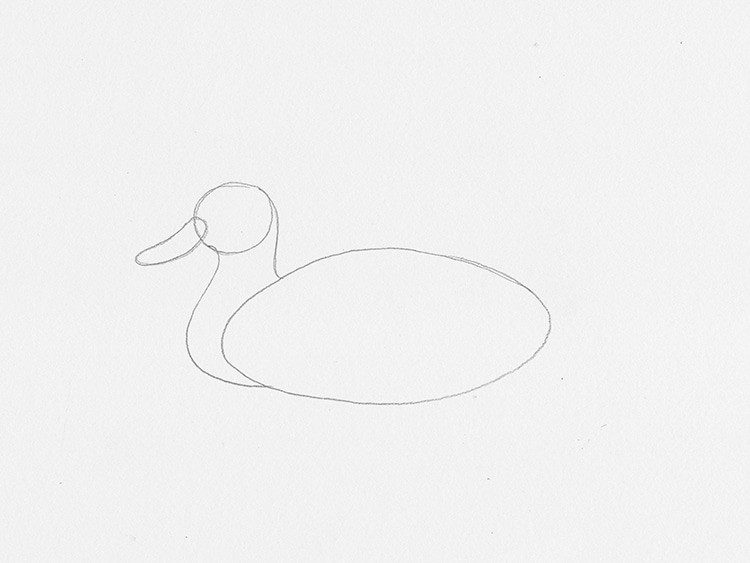

Photo & Art: Margherita Cole | My Modern Met
Move back to the head, and make a loose sketch of the duck’s beak. This should be shaped like a long oval with a slight curve. Make sure the beak is not pointed at the tip.
Step 6: Sketch some details
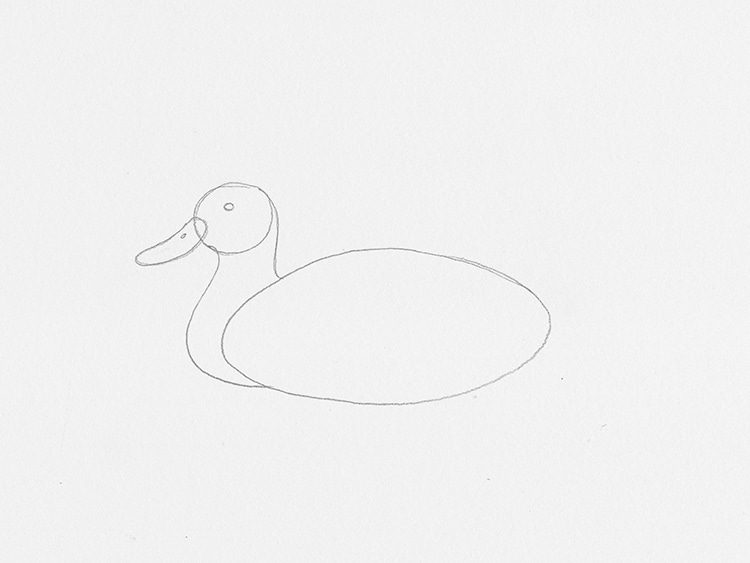

Photo & Art: Margherita Cole | My Modern Met
Next, you can quickly add a small oval eye to the duck’s head. This should be closer to the top of the circle than the bottom. You can also add the nostril to the top of the duck’s beak at this time.
Step 7: Sketch the wings
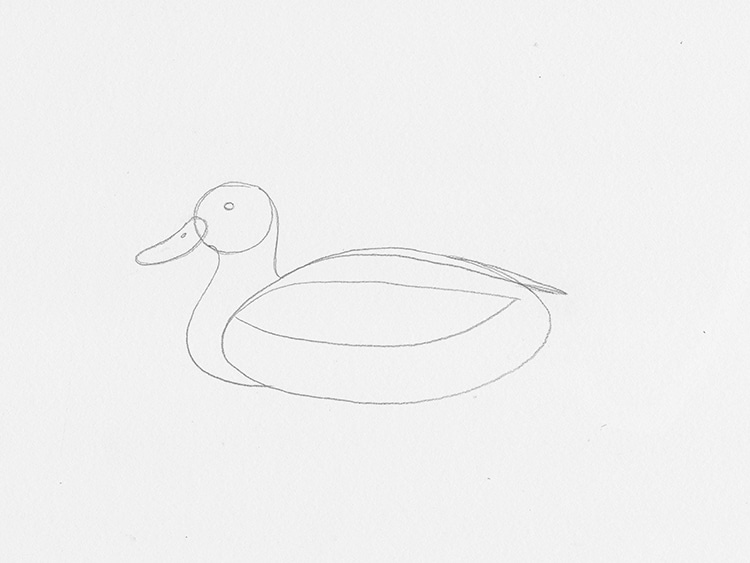

Photo & Art: Margherita Cole | My Modern Met
Next, you can turn your attention back to the body of the duck where we will begin adding the wings. Start by sketching a simple pointed feather-like shape.
Step 8: Add the tail
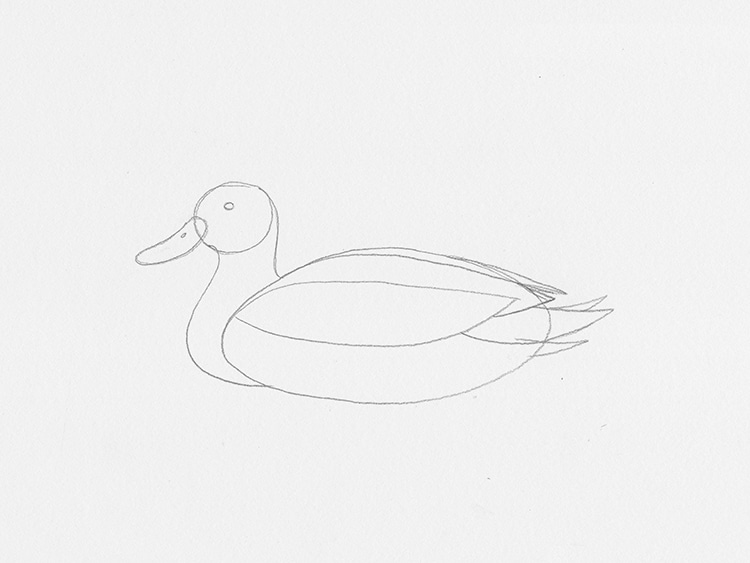

Photo & Art: Margherita Cole | My Modern Met
During this time, you should also add the tail to the end of the duck’s body using the same pointed feather shapes we used in Step 7. The tail feathers, however, should be shorter.
Step 9: Form the body of the duck
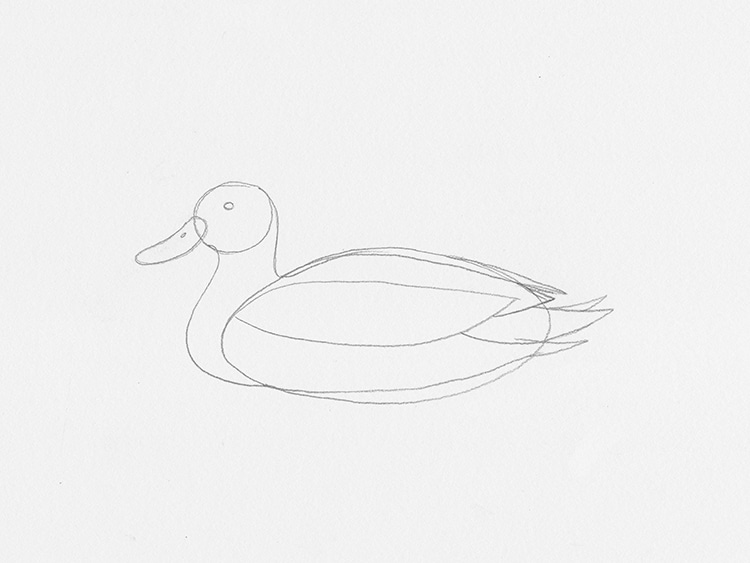

Photo & Art: Margherita Cole | My Modern Met
Next, we will begin carving out the final shape of the duck drawing by sketching a line that goes from the bottom of the duck’s chest and continues to its tail. This will cut off a small portion of the large oval we drew in Step 3.
Step 10: Erase unnecessary lines
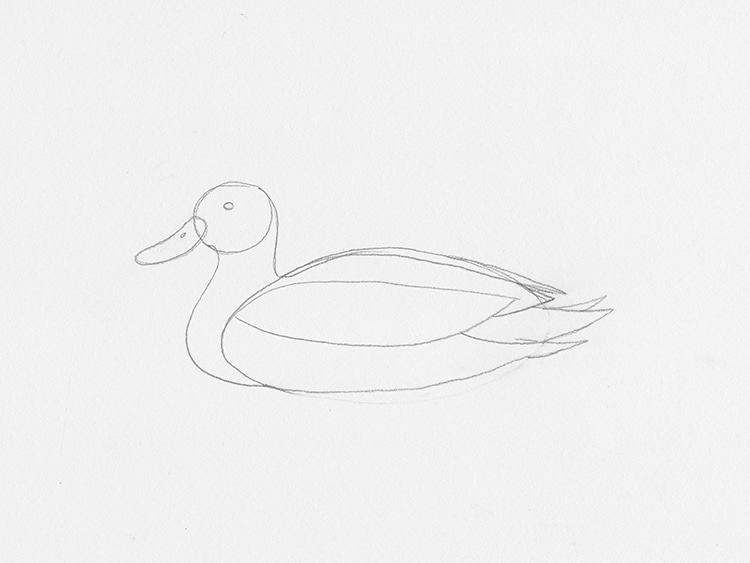

Photo & Art: Margherita Cole | My Modern Met
If you want to clean up your drawing a bit before you continue, feel free to erase some of the unnecessary lines from the previous steps. You can also wait until later to do this.
Step 11: Flesh out the head of the duck
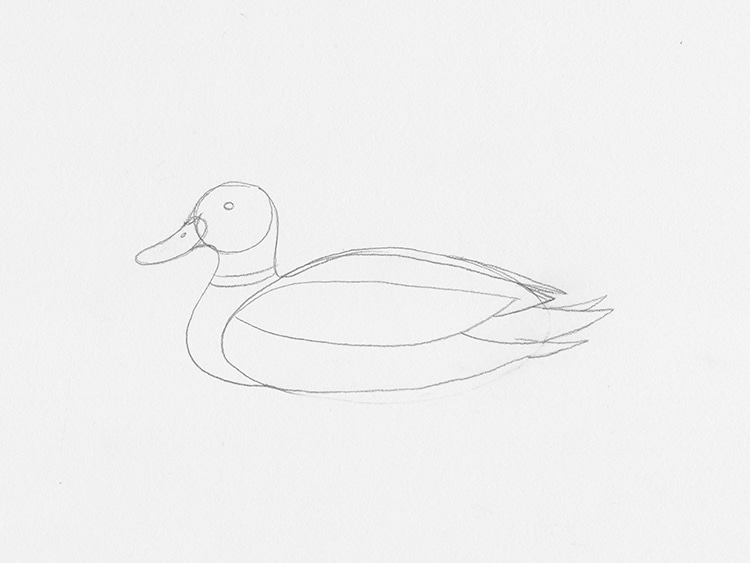

Photo & Art: Margherita Cole | My Modern Met
Next, you can turn your attention back to the head of the duck, where we’re going to connect the beak properly to the head.
Step 12: Sketch some more feathers
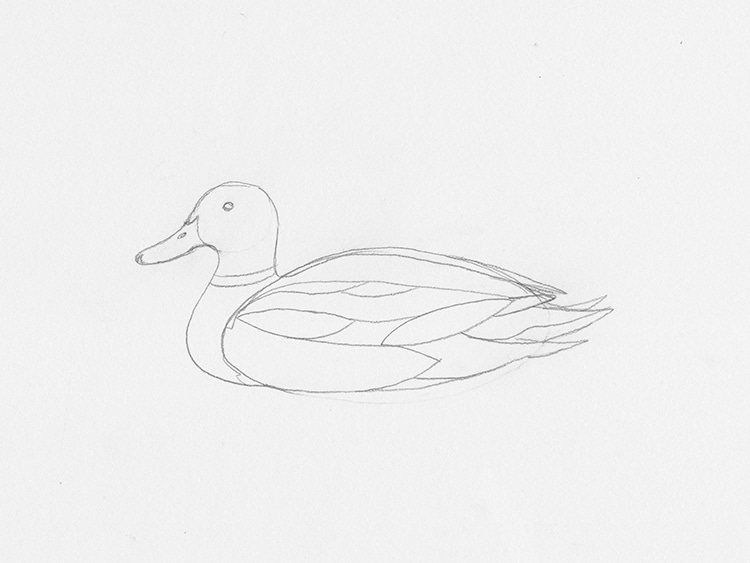

Photo & Art: Margherita Cole | My Modern Met
Lastly, before we move onto the inking stage, we can add any remaining details to the illustration, such as more feathers to the body and the stripe that goes around the duck’s neck. You can also erase more unnecessary lines.
Step 13: Go over the drawing in ink
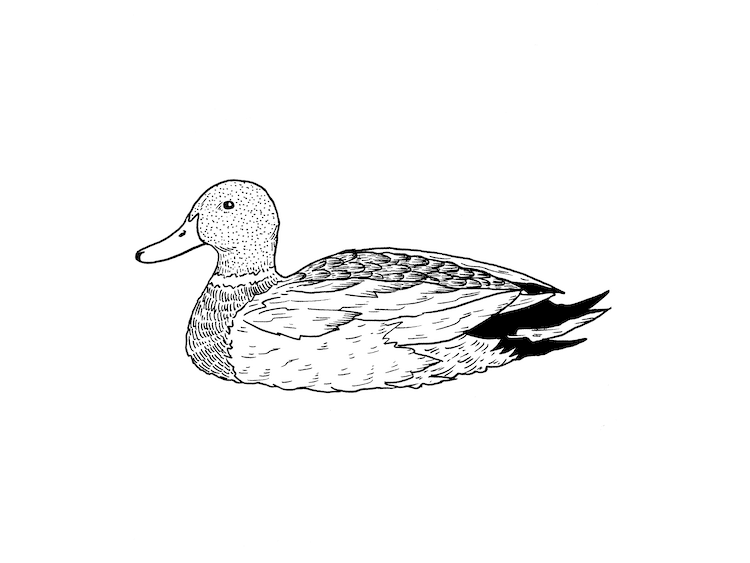

Photo & Art: Margherita Cole | My Modern Met
Finally, it is time to go over our duck drawing in ink. In this tutorial, I chose to work with a brush pen, which creates a more expressive line that can become thinner or thicker depending on how much pressure I apply. It is up to you which drawing pen you use, but both technical pens and brush pens are great options for beginners and seasoned artists, alike (it just depends on what kind of effect you want).
So, start by going over the basic outline with your pen. Afterward, you can add texture to the wings and body by using different shading techniques like hatching and stippling. If you are adding areas of black, consider saving those for last so you don’t risk smearing the ink on the page.
When you are done inking, make sure you leave ample time for it to dry. Then, use an eraser and remove the remaining pencil marks.
Step 14: Add some water
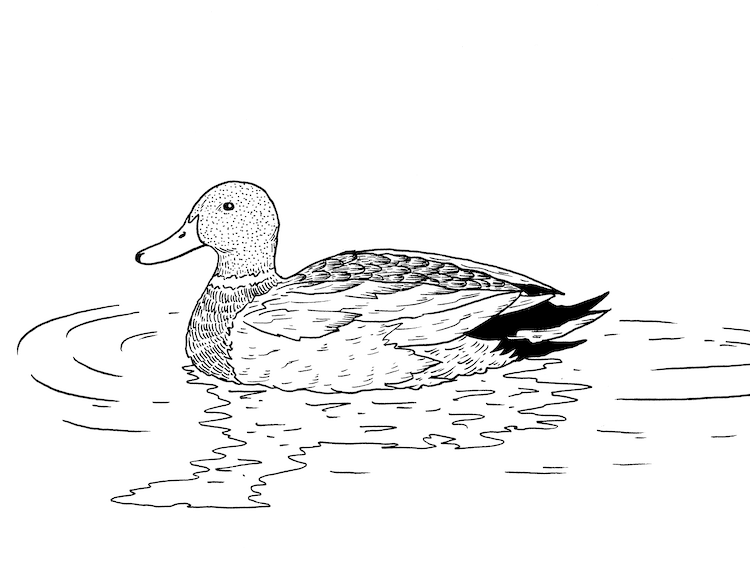

Photo & Art: Margherita Cole | My Modern Met
If you feel like your duck illustration still needs some finishing touches, then sketching a quick background might be a good idea. Since this duck is drawn in a sitting pose, I added a reflection of water as well as some ripples to suggest it is swimming in a pond.
And that’s it! You can either leave your duck as-is or go over it in color to give it even more dimension. Thanks for following along!
Related Articles:
Learn How to Draw a Realistic Emperor Penguin Adult and Its Chick Step by Step
Learn How to Draw an Enchanting Snowy Owl With This Step-by-Step Guide
[ad_2]
Source link


Leave a Reply